Use Github for Scientific Writing
July 16, 2014
GIT is a good tool for managing scientific writing, whether you write on your own or with collaborators. A rich set of tools for supporting collaborative work makes Github a good place for storing LaTeX source there.

There are many reasons why I adore github! For me, it stands for all the good things associated with open content – the beautiful mindset behind it where many people participate to create amazing things! Openness, which is still largely missing in scientific research.
Collaborative work on a scientific paper is carried out in the worst case by emailing LaTeX code. I don’t think I have to talk about the disadvantages of this approach. Tools like Dropbox allow to share folders with different users, but also have major disadvantages. They share everything in a folder, regardless of source files or auxiliary files created during the typesetting process. Many LaTeX editors store configuration files in the project folders and are therefore synced as well. And the constant dropbox pop-up informing me that someone currently works on a text is maddening.
GIT was designed for code-projects, but also works very well for the scientific writing process. If you are new to GIT, check out this great interactive tutorial, teaching you everything you need to know in about 15 minutes at try.github.io.
To clarify: GIT is the name of the versioning system, github is a web site for storing GIT-repositories and it comes with additional features. The major advantages of GIT/github include:
- ignoring auxiliary files created by
TeXduring the typesetting process or configuration files from theLaTeXeditor, - track changes using commit messages, creating DIFFs and using branches,
- discuss ideas using the build in
Wikiandbug tracking/milestonesystem, - modern Git-Clients, which make it easy to use for people too shy to use the command line (which is by far not as scary as you might assume).
Github repositories are by default open for everyone to see. If you don’t want that, you have to create a private repository.
Github offers five free private repositories for students or University associates (https://education.github.com/).
In this blog post I show how to set up a git repository for a scientific paper, recommend a structure and give examples on how you can use features of GIT and github to boost your productivity! Note that I will demonstrate the use of GIT through the console. You can also use the github app (Mac, Windows) or any other GIT client for this.
Setup
Creating the New Repository
Creating a new repository at Github is easy as pie. When you are logged in, you can use the toolbar at the top right corner to create a new repository.
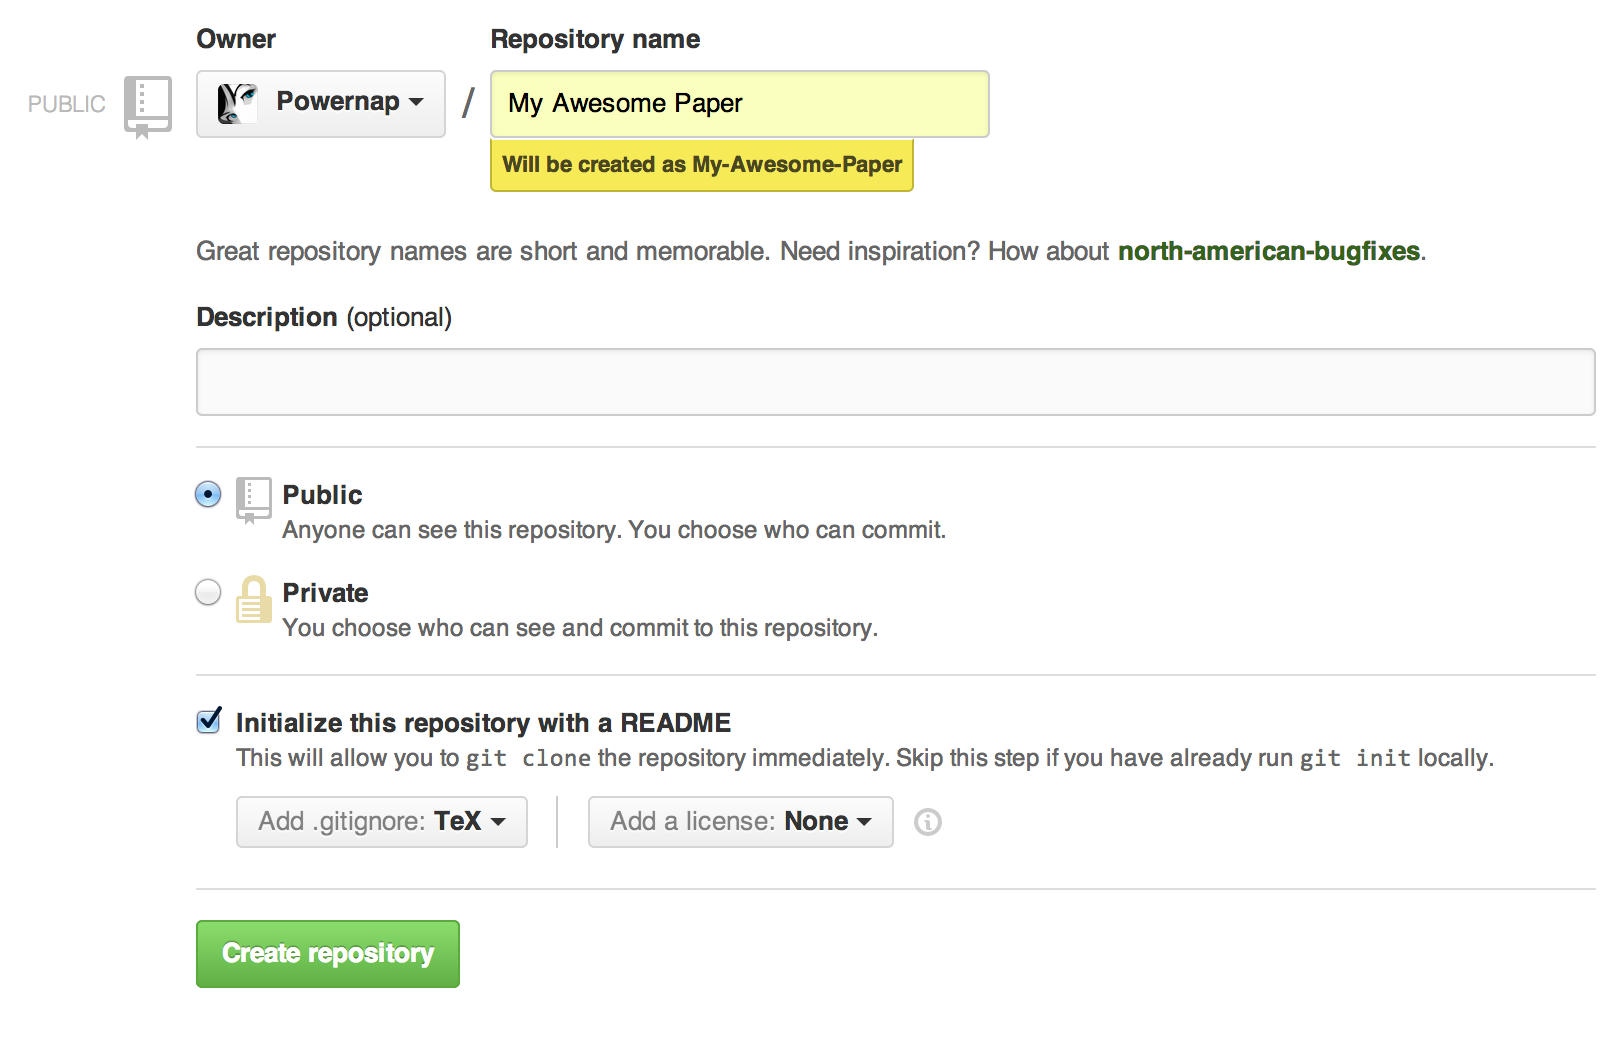
In the next window you can create your new repository. Give it a meaningful title and make sure to select the TeX .gitignore template at the bottom. If you want to create a private repository, you can request it using this link: https://education.github.com/. The people at Github are pretty fast, it took them only a few hours to verify my account.
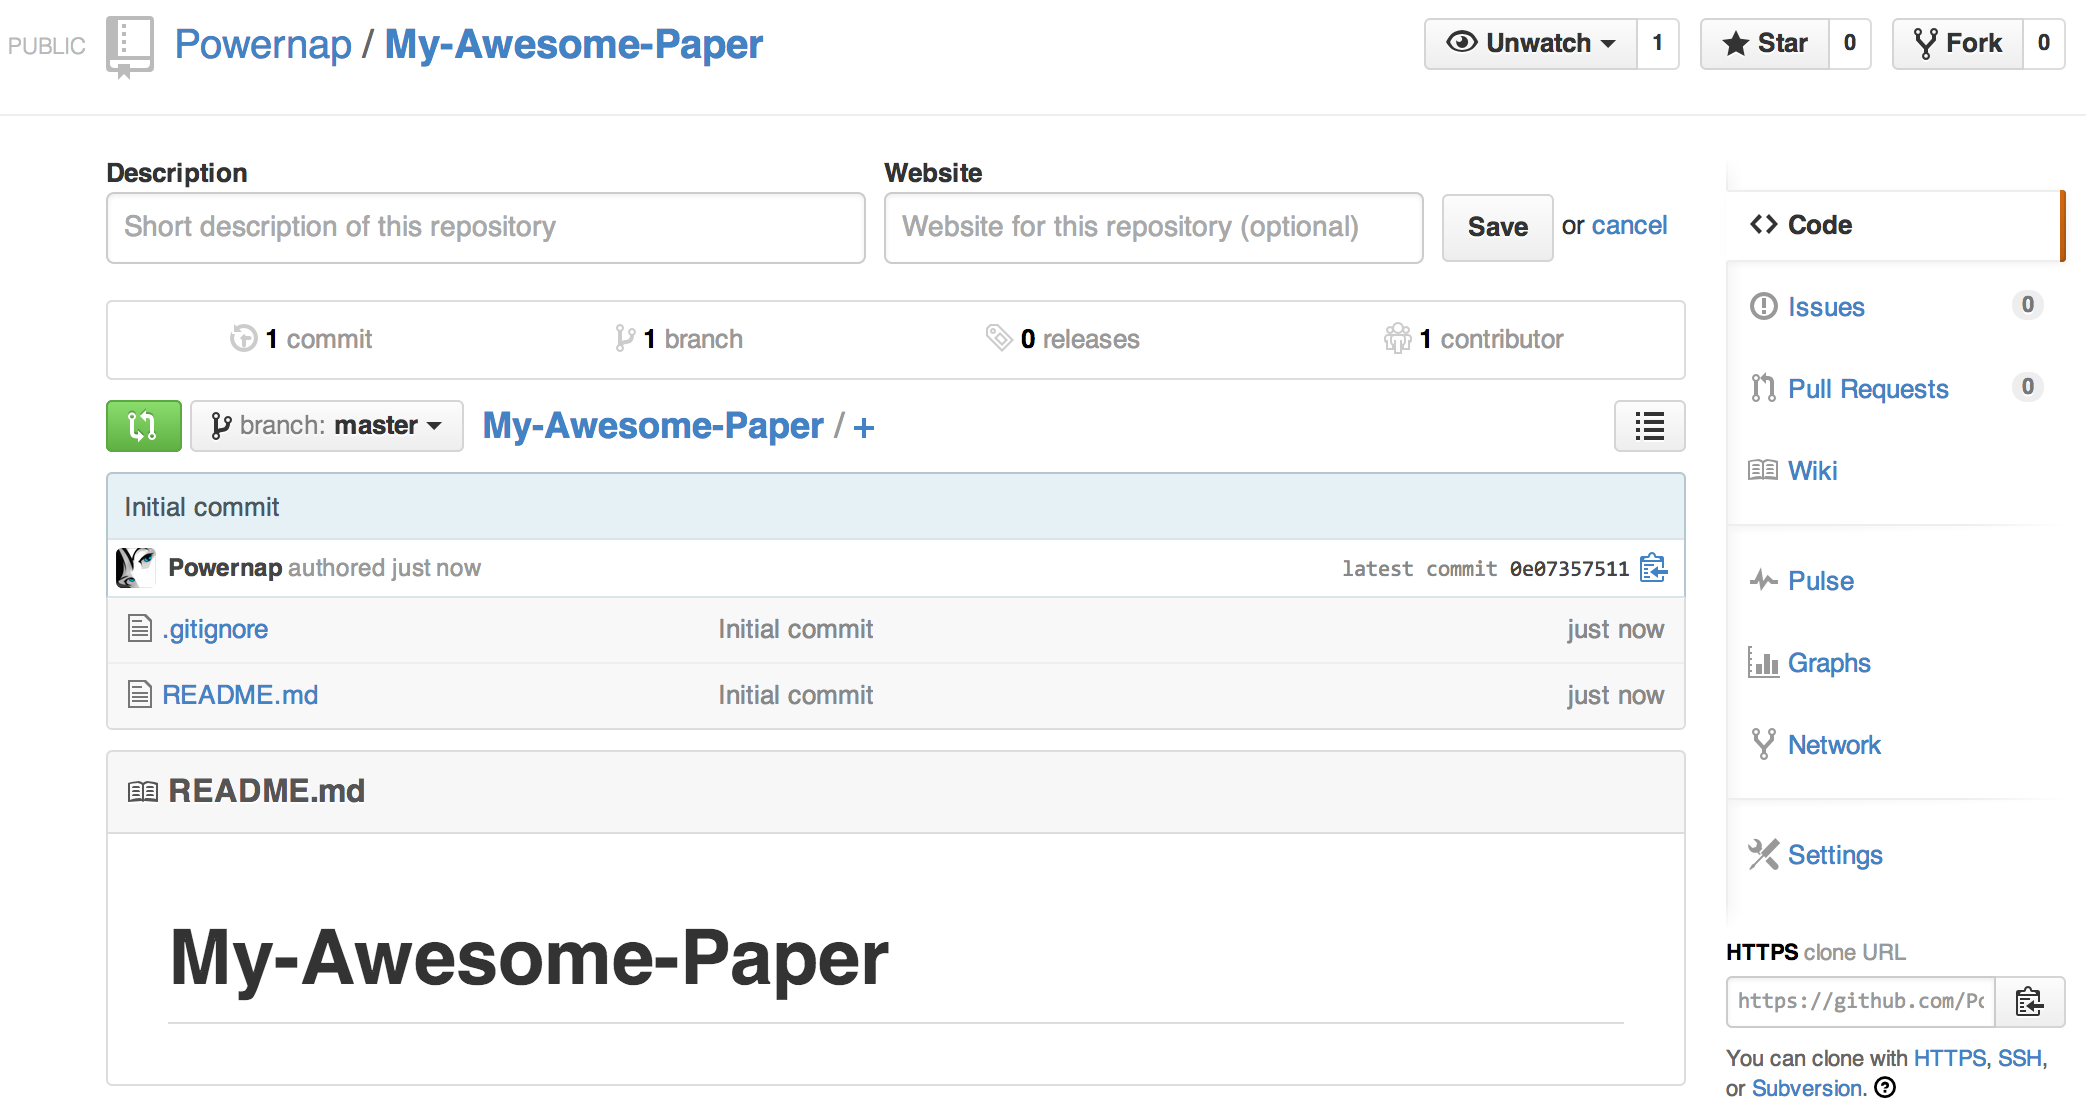
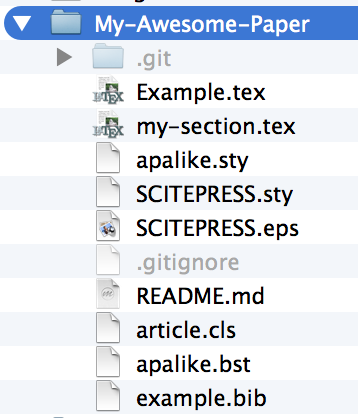
After you’ve created the repository it should look similar to this:
Add your Files to the Repository
Chances are that you already wrote some stuff or have unpacked the authors packages of the conference or journal. Git makes it easy to add these files to the existing repository. At first, lets clone the newly created repository. You find the http address to your repository on the right bottom of its github page under HTTPS clone URL.
{% codeblock lang:bash %} $ cd ~/Desktop $ git clone https://github.com/Powernap/My-Awesome-Paper.git Cloning into ‘My-Awesome-Paper’… remote: Counting objects: 4, done. remote: Compressing objects: 100% (3⁄3), done. remote: Total 4 (delta 0), reused 0 (delta 0) Unpacking objects: 100% (4⁄4), done. Checking connectivity… done. {% endcodeblock %}
Now you should have the repository on your desktop. You can add all existing files to the folder via drag and drop. Here are the commands you potentially need to add the new files to the repository:
git statusis a useful command for checking the current status of a repository is . It also should ignore the files specified in the.gitignorefile.git add <someFile>adds files to a repositorygit add -Aadds all files and folders listed under untracked filesgit commitmakes a commit to a repository. Note that these commits are still only part of your local copy of the repository – unlike other versioning systems, such asSVN, you can create commits while being offline.git pushuploads all changes to the repository stored at github.
Here is an example for doing this:
# You can use any folder you want!
$ cd ~/Desktop/My-Awesome-Paper
$ git status
    On branch master
    Your branch is up-to-date with 'origin/master'.

    Untracked files:
      (use "git add <file>..." to include in what will be committed)

        Example.tex
        SCITEPRESS.eps
        SCITEPRESS.sty
        apalike.bst
        apalike.sty
        article.cls
        example.bib

    nothing added to commit but untracked files present (use "git add" to track)
# Now add all files under `Untracked files`
$ git add -A
# '-m' directly adds the commit message
$ git commit -m "Added conference style files"
    [master f01710d] Added conference style files
     7 files changed, 2318 insertions(+)
    create mode 100755 Example.tex
    create mode 100755 SCITEPRESS.eps
    create mode 100755 SCITEPRESS.sty
    create mode 100755 apalike.bst
    create mode 100755 apalike.sty
    create mode 100755 article.cls
    create mode 100755 example.bib
# Now everything is at the 'head' of your local copy of the repository.
# Time to push it to the github server!
$ git push
    Counting objects: 10, done.
    Delta compression using up to 8 threads.
    Compressing objects: 100% (9/9), done.
    Writing objects: 100% (9/9), 382.59 KiB | 0 bytes/s, done.
    Total 9 (delta 0), reused 0 (delta 0)
    To https://github.com/Powernap/My-Awesome-Paper.git
       0e07357..f01710d  master -> master
If you find it hard to follow, you should look into this quick tutorial.
The .gitignore File
It is a good habit to add a .gitignore file to your repository, which contains a list of files ignored by git. LaTeX produces many auxiliary files during its typesetting process, which differ depending on the OS you use and the installed TeX version. It is a good idea to exclude them, especially when collaborating with other people on a paper. Adding files is straightforward, add file names and separate them using newlines. You can even use wildcards using the * symbol, or exclude entire folders (e.g. output/). Whether to add PDF-files to the repository is a matter of taste. I always commit the current state of my work as pdf because it makes it easy to look at versions of previous commits.
Use the Power of GIT and github
Once set up, the full power of git and github lies beneath your fingertips.
Commit often!
When working with versioning systems, it is recommended to commit early and often! Changes to the text are by far more comprehensible and it avoids conflicts when working with multiple people on a text!
Updating the repository is straightforward, just run git add <your File>, create a git commit and git push it to the server. If you just want to update all files in the repository, you can use git commit -a instead of tediously git add‘ing all changed files.
All commits can be viewed at your projects github page.


Structure your LaTeX Documents
It is often a good idea to divide your chapters or sections into individual files and include them in a master file via the \input command. A barebone TeX file could look like this:
\documentclass[12pt]{article}
\begin{document}
\input{Chapter-1.tex}
\input{Chapter-2.tex}
\end{document}
Besides keeping the project structured, it reduces the number of conflicts when you also work with co-authors. I also found it useful to separate each sentence in the following way:
\section{Proof of Everything}
%%
\noindent This is my introduction to this chapter.
%%
I divide every sentence with a comment.
%%
This way it is easy to identify huge sentences that are hard to read and to understand and everybody knows how hard these sentences are to find in the text when you have a lot of text and well you know what I mean.
%%
Sentences can also be easily commented out this way.
%%
Changes made to Tex files structured like this are well readable using the github diff view.
Use the Social Features!

Wiki for each repository is a great way for collecting and summarizing ideas. Even in public repositories you can restrict access to the wiki to collaborators only if you want to keep it more private.
The issue and milestone system is packed with useful features for discussing the current process of the work. Discussions can even be referenced to commits. All information is kept at one place, communication is synchronized and you don’t need to look up old mails with chunks of information any more!
Use Branches
Say you want to write a new section, but it will take a couple of days. At the same time, you do not want to change the repository all the time, forcing your co-authors to git pull every time they also want to edit the paper. GIT was designed with such cases in mind! You can simply create your own sub-repository, called a branch, edit it and merge it together with the master-branch.

# Create new 'my-section' branch
$ git branch my-section
# List all branches
$ git branch
  * master
    my-section
# Switch to 'my-section' branch
$ git checkout my-section
  Switched to branch 'my-section'
# Make changes and upload them (-a adds all locally changed files to the repo)
$ git add my-section.tex
$ git commit -a -m "added my new section"
  [my-section fce493f] added my new section
   2 files changed, 9 insertions(+)
   create mode 100644 my-section.tex
# Switch back to the Master branch and merge the sections
$ git checkout master
  Switched to branch 'master'
  Your branch is up-to-date with 'origin/master'.
$ git merge my-section
  Updating f01710d..fce493f
  Fast-forward
   Example.tex    | 1 +
   my-section.tex | 8 ++++++++
   2 files changed, 9 insertions(+)
   create mode 100644 my-section.tex
$ git push
Create Releases

Releases are a great feature to freeze commits. I use it to save important milestones, such as the blind submission for reviewing.
Use All the Features!
Just kidding. But github offers a ton of other features I did not cover in this post. To get an impression about githubs power, head over to its feature page.
They even work on their own editor Atom, which supports LaTeX but isn’t as functional as the packages in Textmate or Sublime Text.
Closing Remarks
There is no right way to write. All these examples are based on my own experience, my own way to work and what I found enough to share it with you. Surely there are much more different ways to use GIT and github for writing. Also, there are great cloud-based LaTeX editors, which also allow collaborative editing (e.g. ShareLaTeX). Please feel free to make remarks in the comment section!
Since I feel that openness plays a crucial role in scientific research, we do good in using these systems and break out of our isolated bubbles and have open discussions about our work and how it develops. Tools like github allow us to do so!
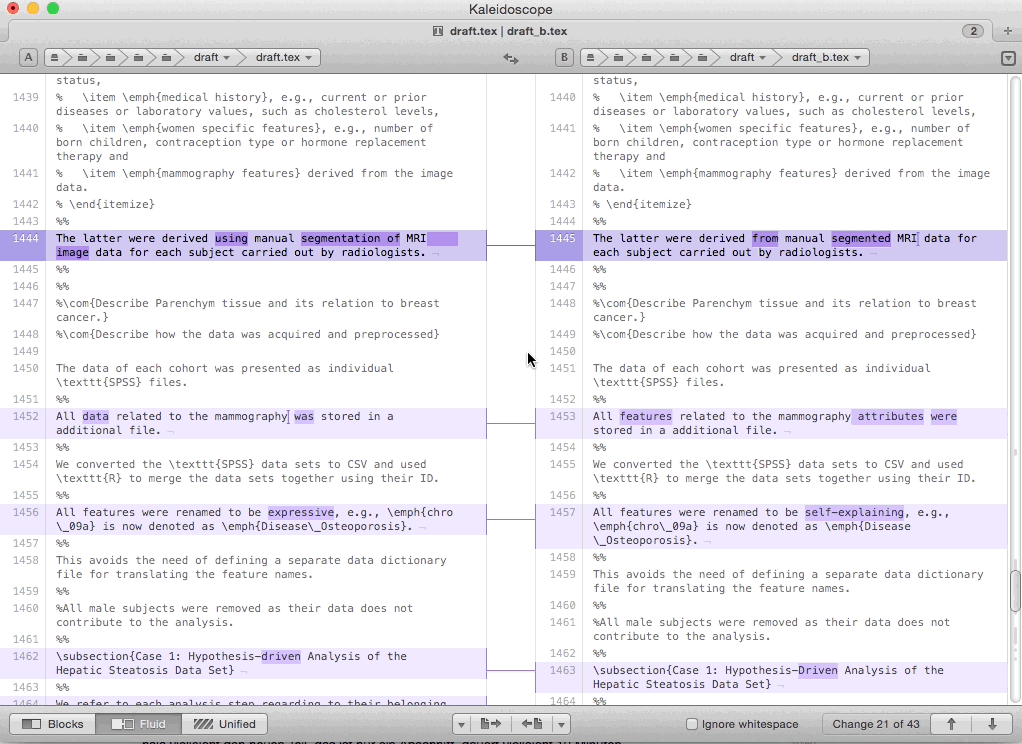
Encore
This is what reviewing revisions can look like if your co-authors use this workflow. I find this pretty awesome 💙.